Dryer Not Heating? Here's What to Check First
TL;DR
- A dryer that tumbles but won't heat typically has a blown thermal fuse, failed heating element (electric), or bad gas valve coils (gas)
- Always check your lint trap and exterior vent first—restricted airflow is the #1 cause of thermal fuse failure
- Electric dryer heating elements can be tested with a multimeter; gas dryers require checking igniter glow and valve solenoids
- DIY-friendly fixes include thermal fuse and heating element replacement; gas valve work requires professional service
- If you smell gas at any point, leave immediately and call your gas utility—never attempt repairs yourself
A dryer not heating is one of the most common calls we get at The Appliance Family, especially during the humid Austin summers when folks rely on their dryers daily. When your dryer tumbles and runs through its cycle but leaves clothes damp, you've got a heating issue—not a motor or drum problem. The good news? Many heating failures have straightforward causes that homeowners can identify, and some can even fix themselves with basic tools.
From our truck this week
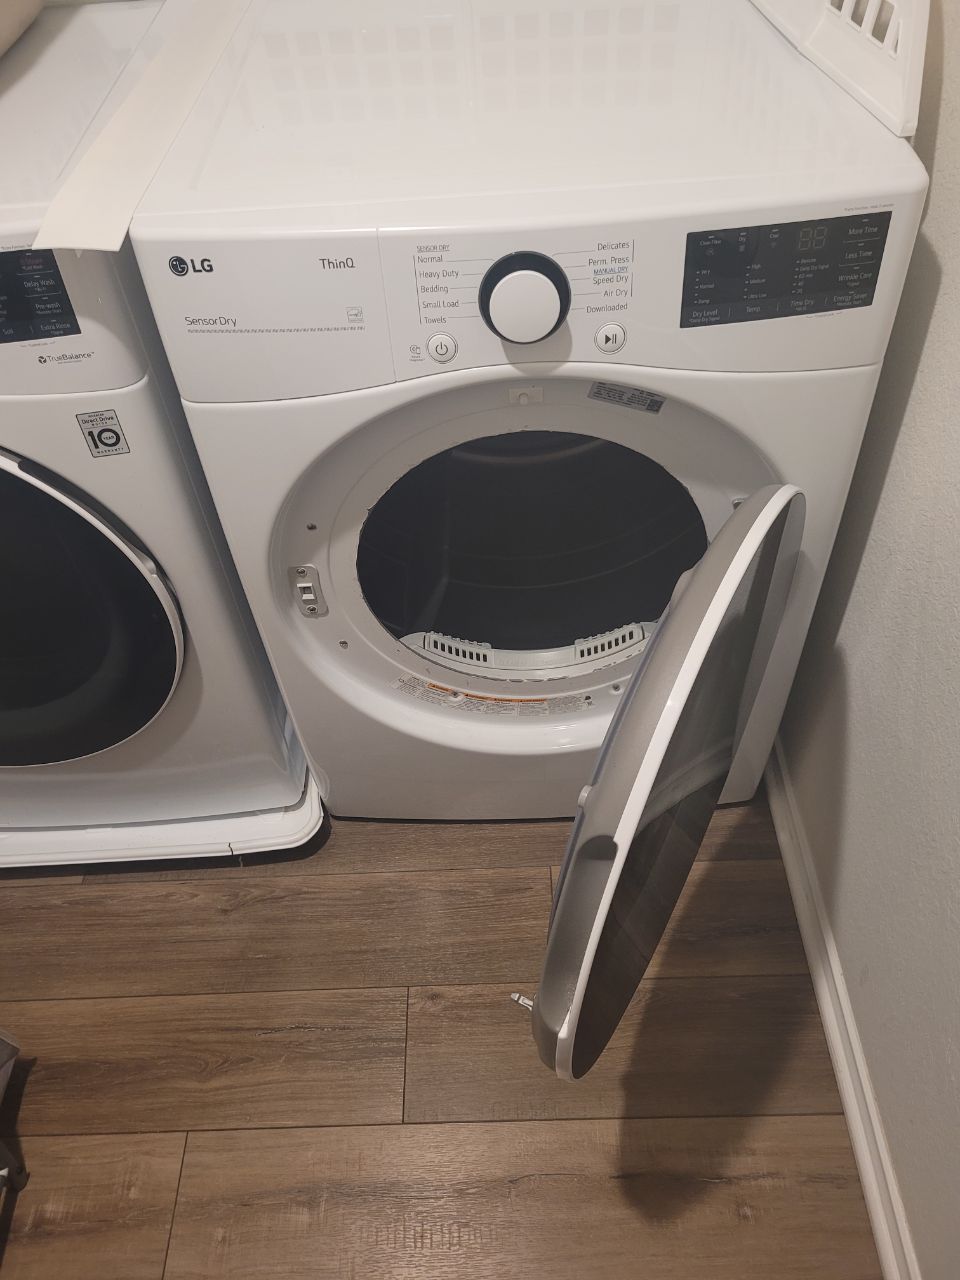
We responded to a call in Cedar Park this week for an LG dryer that was running but not producing any heat. The homeowner had already checked the basics—lint trap was clean, circuit breaker was fine—but the clothes were coming out cold and damp after a full cycle.
After a full diagnostic, we found a blown thermal fuse caused by a partially blocked exterior vent. Once we cleared the vent and replaced the fuse, the dryer was back to heating normally within the hour.
Understanding How Your Dryer Heats
Electric dryers use a heating element—a coiled wire that gets red-hot when electrical current flows through it—to warm the air that tumbles through your clothes. Gas dryers ignite natural gas or propane with an igniter and gas valve assembly to create heat. Both types pull air through the drum, heat it, pass it over your laundry, then exhaust it through the vent system to the outside.
The key safety component in both systems is the thermal fuse, a one-time-use device that cuts power to the heating circuit if the dryer overheats. When airflow is restricted by lint buildup or a clogged vent, temperatures rise beyond safe limits and the fuse blows to prevent a fire. Once it blows, the dryer will still run and tumble, but it won't heat until you replace the fuse and fix whatever caused the overheating.
The 7-Step Dryer Heating Diagnostic Checklist
Our technicians at The Appliance Family follow this systematic approach when diagnosing a dryer that won't heat, and you can use the same process at home to narrow down the problem.
- Check the lint trap and cavity. Pull out the lint screen and clean it thoroughly, then use a flashlight to inspect the cavity where it sits. Lint buildup here blocks airflow and triggers thermal safety cutoffs.
- Inspect the exterior vent. Go outside and locate where your dryer vents to the exterior. Remove the vent cover and look inside for lint accumulation or bird nests. The vent should have strong airflow when the dryer runs.
- Test the circuit breaker (electric dryers). Electric dryers use 240V power with two breakers or a double-pole breaker. If only one side trips, the dryer will tumble but not heat. Reset both breakers fully—flip them all the way off, then back on.
- Confirm the gas supply (gas dryers). Make sure the gas shutoff valve near the dryer is fully open. If other gas appliances work but the dryer doesn't heat, the problem is with the dryer itself.
- Locate and test the thermal fuse. Unplug the dryer, remove the appropriate panel (usually the front or rear), and find the thermal fuse on the blower housing or near the heating element. Use a multimeter to test for continuity—a blown fuse shows infinite resistance.
- Inspect the heating element (electric) or igniter (gas). For electric dryers, the heating element is a coil assembly usually accessible from the rear. Test it for continuity. For gas dryers, watch through the lower front access panel while the dryer runs—the igniter should glow bright orange for 30–60 seconds, then you should hear the gas ignite.
- Check thermostats and sensors. High-limit and cycling thermostats can be tested with a multimeter for continuity. These are typically located on the blower housing or heating element housing.
Common Causes of Dryer Heating Failure
Based on thousands of dryer repair calls across Austin and Central Texas, these are the most frequent culprits when a dryer won't heat properly.
Blown Thermal Fuse (Most Common)
The thermal fuse blows due to restricted airflow almost every time. Lint accumulation in the vent line, a crushed vent hose, or even a vent line that's too long can cause the dryer to overheat. The fuse is a one-time safety device—once it blows, you must replace it. But here's what homeowners often miss: if you just replace the fuse without fixing the airflow problem, it will blow again within days or even hours.
The Department of Energy recommends keeping vent runs as short and straight as possible, ideally under 25 feet total with minimal turns.
Failed Heating Element
Electric dryer heating elements typically last 10–15 years but can fail sooner with heavy use or power surges. The coiled resistance wire develops breaks, often visible if you inspect the element closely. Replacement elements cost $40–$120 depending on the brand, and installation takes about 45 minutes for someone comfortable with appliance repair.
Gas Valve Coil Failure
Gas dryers use two or three gas valve solenoid coils that open when the igniter reaches operating temperature. These coils fail over time and won't open even when the igniter glows. You'll see the igniter cycle on and off repeatedly without ever igniting gas. Replacing gas valve coils requires disconnecting the gas supply and working around open gas ports, which is why we recommend professional service for this repair.
Faulty Igniter
Gas dryer igniters weaken over time and may glow dimly or not at all. A weak igniter won't reach the temperature needed to signal the gas valve to open. Igniters are relatively inexpensive ($30–$80) and can be replaced without touching the gas supply, making this a reasonable DIY repair for capable homeowners.
When to Call a Pro vs. DIY
Knowing when to tackle a dryer repair yourself versus calling The Appliance Family saves you time, money, and potential safety hazards.
Safe for DIY (If You're Comfortable with Basic Repairs)
Always unplug the appliance before any inspection or repair. If unsure, call a licensed technician.
Cleaning the lint trap and vent system is essential maintenance every homeowner should do. This prevents most thermal fuse failures and is the single best thing you can do to extend your dryer's life and prevent house fires. The Consumer Product Safety Commission reports that failure to clean dryers is the leading factor in dryer fires.
Thermal fuse replacement is straightforward if you can identify the correct part for your model and feel comfortable opening your dryer cabinet. The part itself costs $10–$25. Just remember: replace the fuse AND fix the airflow problem, or you'll be replacing it again soon.
Heating element replacement on electric dryers is manageable for DIYers who have successfully completed other appliance repairs. The process is well-documented in online videos for most major brands.
Call a Professional For
Any gas dryer repair beyond replacing the igniter should be handled by trained technicians. Working around gas valve assemblies, testing gas pressure, and ensuring proper combustion requires specialized knowledge and tools. At The Appliance Family, our technicians are trained in gas appliance safety and carry the proper equipment to test for gas leaks after any repair.
Complex electrical diagnosis beyond basic continuity testing—such as testing control boards, motor relays, or wiring harnesses—requires expertise to avoid creating new problems or safety hazards.
If you've replaced a thermal fuse and it blows again immediately, there's an underlying problem that needs professional diagnosis. This might be a shorted heating element, a failing thermostat stuck in the closed position, or a serious airflow restriction you haven't identified.
Prevention: Keeping Your Dryer Heating Properly
Preventive maintenance dramatically reduces the likelihood of heating failures and extends your dryer's lifespan well beyond the typical 10–13 year average.
Clean the lint trap before or after every single load. This takes five seconds and prevents 90% of airflow problems. Once a month, wash the lint screen with warm soapy water to remove fabric softener residue that can clog the mesh and restrict airflow.
Inspect and clean your dryer vent system annually at minimum. For households that do multiple loads daily, twice a year is better. This includes the vent hose behind the dryer, the ductwork running through your walls, and the exterior vent cover.
Use rigid or semi-rigid metal ductwork instead of flexible plastic or foil vent hoses. Metal ducts don't sag, trap less lint, and are far less flammable. The ENERGY STAR program recommends metal venting for safety and efficiency.
Frequently Asked Questions
Why is my dryer running but not heating?
The most common causes are a blown thermal fuse, a failed heating element (electric dryers), or a faulty gas valve solenoid (gas dryers). A clogged vent can also prevent proper heating by triggering safety cutoffs. Check your lint trap and exterior vent first, then inspect the thermal fuse located on the blower housing or heating element assembly.
How much does it cost to fix a dryer that won't heat?
Most dryer heating repairs in Central Texas range from $150 to $400 depending on the part and labor involved. A thermal fuse replacement typically runs $150–$220, while a heating element replacement costs $180–$300. Gas valve coil replacements usually fall in the $200–$350 range. Actual cost varies based on your dryer model and the diagnosis.
Can I replace a dryer thermal fuse myself?
Yes, replacing a thermal fuse is one of the more straightforward dryer repairs for DIY-capable homeowners. The part costs $10–$25 and requires basic tools. Always unplug the dryer first, locate the fuse on the blower housing, disconnect the wire terminals, and replace it with an exact match for your model. However, if the fuse blows again immediately, there's an underlying issue that needs professional diagnosis.
How do I know if my dryer heating element is bad?
For electric dryers, you can test the heating element with a multimeter for continuity. Unplug the dryer, access the element (usually behind the front or rear panel), and test across the terminals—you should get a reading between 10 and 50 ohms. No reading means the element is broken. Visual inspection may also reveal obvious breaks in the coil wire inside the element housing.
Is a dryer vent problem dangerous?
Absolutely. A clogged dryer vent is a leading cause of home fires, accounting for thousands of incidents annually according to the CPSC. Restricted airflow causes lint buildup, overheating, and potential ignition. Beyond fire risk, clogged vents force your dryer to work harder, shortening its lifespan and wasting energy. Clean your vent system at least once per year, more often for large households.
Get Your Dryer Heating Again
A dryer that won't heat doesn't have to derail your week. Whether you're comfortable tackling a thermal fuse replacement yourself or you'd rather have an experienced technician diagnose and fix the problem quickly, The Appliance Family is here to help homeowners throughout Austin, Round Rock, Cedar Park, Pflugerville, Georgetown, Leander, Kyle, Buda, Lakeway, and Bee Cave get their appliances back in working order.
Our trucks carry the most common dryer parts, so many repairs can be completed the same day we arrive. We'll also inspect your vent system and give you honest recommendations about maintenance and whether your dryer has years of life left or if replacement makes more sense.
Ready to get your laundry routine back on track? Give us a call at (512) 934-2240 or visit our contact page to schedule service. We're a family-run business that treats your home and your appliances with the same care we'd give our own. Check out our full range of appliance repair and installation services to see how we can help with all your home appliance needs.
Need a hand with your appliance?
Same-day appliance repair and installation across the Austin area.